
Inkscape Mini Tutorial
Ren R 690 Seminar, Winter 2022
Brittany Hynes & Mika Little-Devito
Inkscape is a free, open source “professional quality vector graphics software which runs on Linux,
Mac OS X, and Windows desktop computers”. It can be used for a wide variety of applications,
including drawing cartoons, logos, and graphics - basically, anything you would like to draw that
needs to maintain resolution when scaled. From a scientific perspective, Inkscape is very handy for
altering graphs, diagrams, and scientific drawings. Inkscape excels in instances where you cannot
figure out the R code to change figure aesthetics, such as colour, shape, size, orientation, and font
or, if you would like to arrange figures and add objects in a way that is not easily achieved in R. In
very broad terms, Inkscape can be used to create and manipulate objects, change the outline and fill
colour of those objects, and add text. It can also do operations on paths (node editing, boolean
operations, and bitmap tracing + more) and rendering, but that is not covered in this tutorial.
Before we go any further, it is important to understand a very general overview of the two types of
files that can be manipulated in Inkscape: vector and raster.
○ Vector files are made up of points and lines that can be scaled without losing resolution.
○ Raster files are made up of many pixels that are great for showing colour gradients (like in
photographs), but can become fuzzy or pixelated if scaled up.
Inkscape is a vector graphics software and primarily uses SVG (scalable vector graphics) format
files. However, it can also use PDF, EPS, AI, and EMF vector file formats. Although it can import
PNG, JPEG, and GIF raster files, it can only export PNG. This is not usually an issue because most
applications that use JPEG files support PNG as well, but it is worth noting. This tutorial will use
SVG, PDF, EMF, and PNG file formats so you can see how they differ.
This tutorial will walk you through a basic introduction to Inkscape to familiarize you with the most
common tools you will need to alter graphs that have been exported from R. If you are stuck and
what you need isn’t covered below, please check out the Additional Resources at the end of the
tutorial.
Disclaimer: We have used RStudio on a desktop computer using a Windows operating system
while creating this tutorial, so features may be different on Mac OS X and Linux. Creating plots and
exporting them from R in your preferred format is considered to be prerequisite knowledge;
therefore, we only briefly cover how to do this.
1.0. Basic Navigation & Object Manipulation
1.1. Downloading, Installing, & Setting Up Inkscape
Navigate to https://inkscape.org/ to download the most recent version of Inkscape. The version used
for this tutorial can be found here: https://inkscape.org/release/inkscape-1.1.2/
Inkscape does not have an “update” feature, so check back frequently to see if there is a newer
version available. When installing the program, accept all default settings. The computers in GSB
866 should already have Inkscape installed.
1

1.2. Exporting plots from R; Opening Plots in Inkscape
Choosing which file format to import is a bit confusing. There are many options, but most people
recommend dealing with SVG or PDF files. However, metafiles (EMF) seem the most intuitive for
editing graphs as Inkscape recognizes the text as text, making it easy to change font/size/etc. In the
other formats, the text is just a series of squiggly lines that don’t mean anything, so the text needs to
be re-typed in Inkscape if you want to change the words. Also, all objects are ungrouped
automatically, making it easy to work with/move objects around. One drawback we noticed with this
file format is that alignments may suffer slightly (e.g., text no longer centered in boxes). If you only
have to change a couple of things, and still want your figure to look exactly as it did upon exporting,
use PDF and only ungroup the objects you’d like to change. Otherwise EMF alleviates some big
headaches.
○ Export from R as a PDF: Export > Save as PDF (choose desired size to save PDF)
○ Export from R as a SVG OR metafile/EMF: Export > Save as Image (click and drag right
corner or change width and height measurements to make plot desired size before saving)
○ Copy from R as a metafile: Export > copy to clipboard (click and drag right corner or change
width and height measurements to make plot desired size before copying as metafile). Paste
the figure directly into Inkscape.
■ Troubleshooting tip: if you cannot resize the ‘copy to clipboard’ window to the
dimensions you would like, try exiting that window and Ctrl + - (or View > Zoom
Out) to zoom out of the main R window a bit and try again. This should give you
more room to resize your plot.
○ Other files: If you already have a file that is saved in a folder (either from R or some other
program), open Inkscape > File > Open > select your file. If there are any warnings or
options to edit the file prior to importing, select the default setting.
○ You should now have your figure in Inkscape
1.3. Essential Navigation
Inkscape can look a little intimidating with all the different menus. This section will get you moving
through the most basic and useful tools.
1.3.1. Zooming In/Out:
○ Ctrl + scroll mouse up (to zoom in) or down (to zoom out)
1.3.2. Scrolling Up/Down/Sideways:
○ Scroll up/down to move page up/down
○ Shift + scroll mouse up (to move left) or down (to move right)
1.3.3. Undo/Redo:
○ Undo: Ctrl + z
○ Redo: Ctrl + y
1.3.4. Guides: Inkscape has a very useful guide function that can be used to line up objects in
straight lines. There are horizontal, vertical, and diagonal guides. You can have multiple on the
page at any one time.
○ Hover your mouse over the ruler at the top of the page
○ Click and drag down. A blue line will appear. This can be moved anywhere up and
down the page. You can click and drag from the ruler again to get another line.
○ To remove the line, hover over it until it turns red and a little hand appears. Click and
drag it back up to the top of the page.
○ The same guide is available on the left ruler.
2
○ Move your mouse to the top left corner where the two rulers intersect.
○ Click and drag down to add a diagonal ruler.
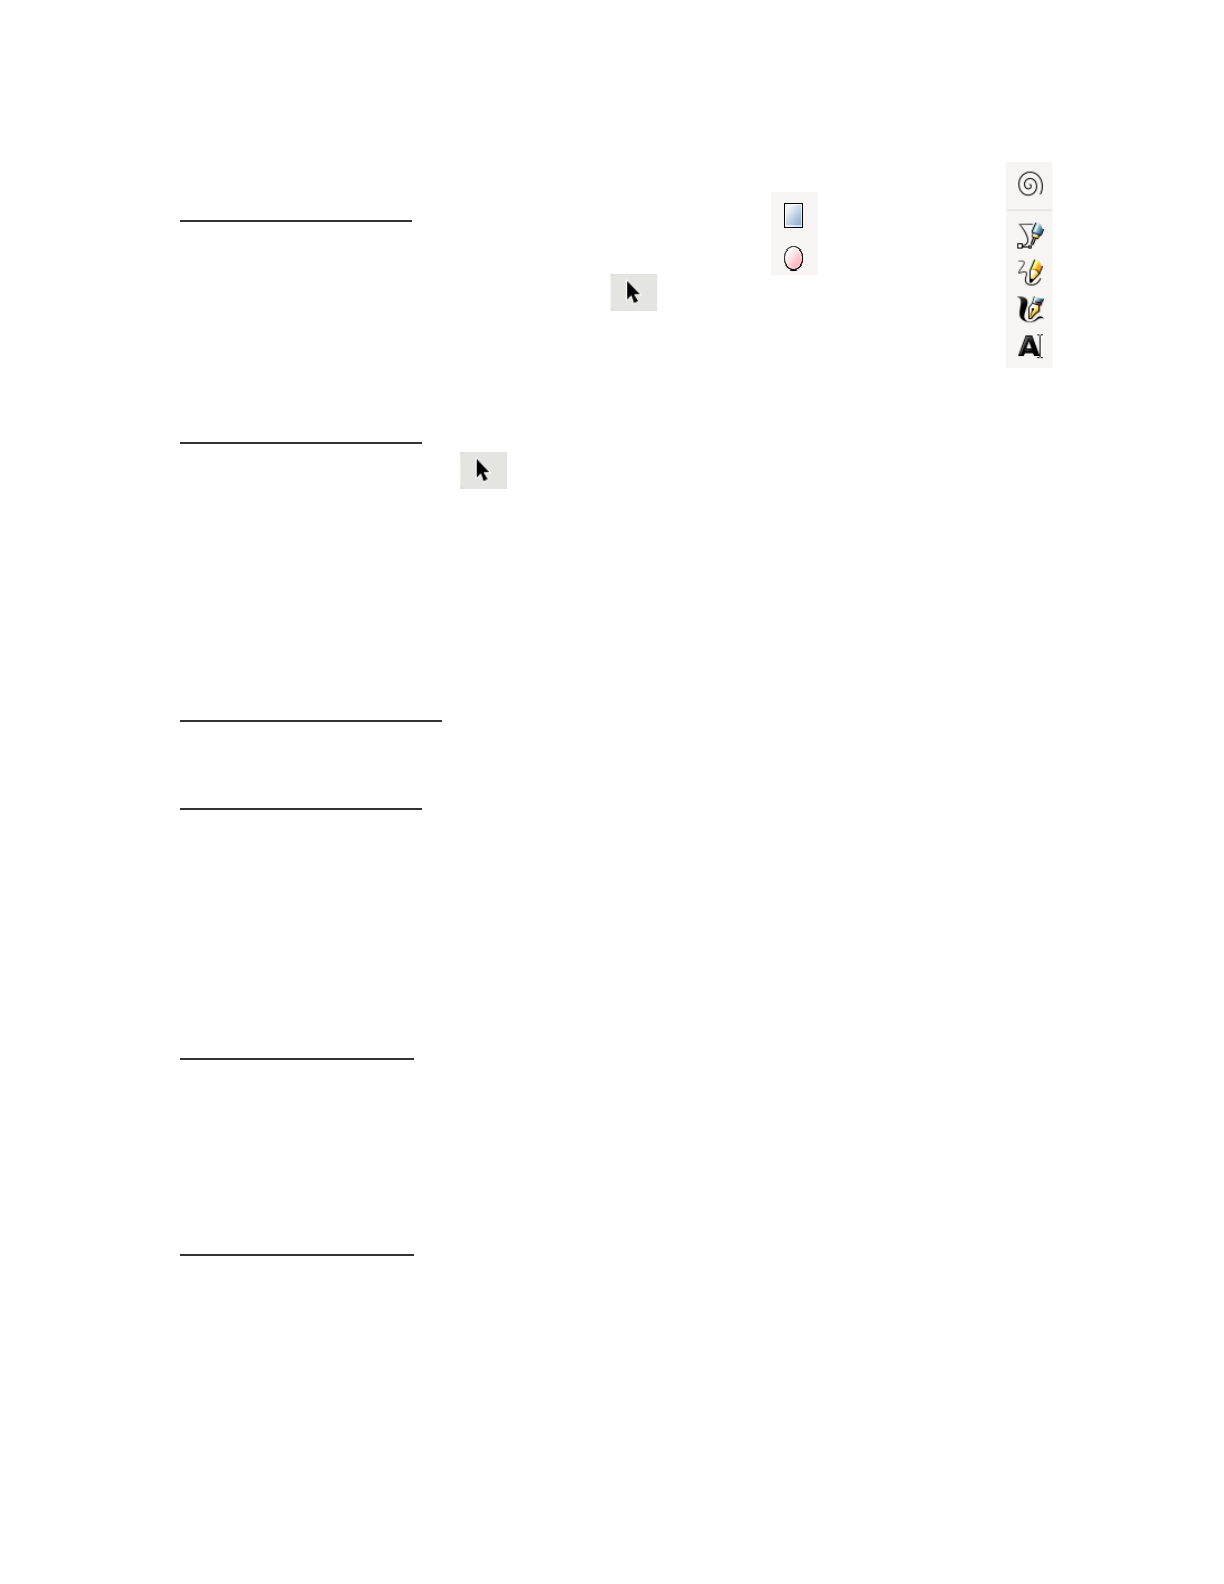
1.3.5. Drawing Objects:
○ Select the square or circle icon from the left menu
○ Click and drag to create an object
○ To stop drawing, select the pointer
○ Try out the different objects in the left menu. You can draw points, lines, and
polygons. Double click to finish drawing lines.
○ Pile a bunch of objects on top of each other to make a big mess. Use this to practice
the next skill.
1.3.6. Selecting Objects:
○ Select the pointer from the left toolbar, click and hold down the left mouse
button, and drag over objects you wish to select
○ You can select multiple individual objects by holding down shift and clicking the left
mouse button
○ Shift + click and drag will select multiple objects without accidentally moving them
○ Alt + click selects objects underneath the top object. If there are multiple objects
stacked on top of each other, keep clicking and it will move down the “pile” of objects.
If that still doesn’t work, zoom in really close (Ctrl + scroll up) to select it.
1.3.7. Duplicating Objects:
○ Select object, Ctrl + C to copy to clipboard and Ctrl + V to insert
○ Or select object, Ctrl + D to duplicate
1.3.8. Grouping Objects:
○ Select what you want to group, Object (top drop down menu) > Group / Ungroup
○ Or, select what you want to group > right-click > Group / Ungroup
○ Depending on the type of file you have loaded into Inkscape, it may be grouped in
multiple layers. To change anything associated with the figure, you will need to
ungroup the figure (use the same procedure as above, but select ungroup instead)
○ EMF file formats import without being grouped, but PDF and other vector file formats
often have multiple layers of groupings that will need to be ungrouped before you can
make any edits
1.3.9. Resizing Objects:
○ To maintain aspect ratio:
■ Select object you wish to resize
■ Ctrl + click and drag any arrow in/out to increase/decrease
○ To resize (aspect ratio does not matter):
■ Select object you wish to resize
■ Click and drag any arrow in/out to increase/decrease
1.3.10. Moving Objects:
○ Shifting position:
■ Select the objects you wish to move
■ Drag them to their new location OR use the arrow keys to move them
up/down/left/right
○ Aligning Objects: There are a few ways to align objects in Inkscape. Open the Align
and Distribute menu: Object (top dropdown menu) > Align and Distribute. In the top
3
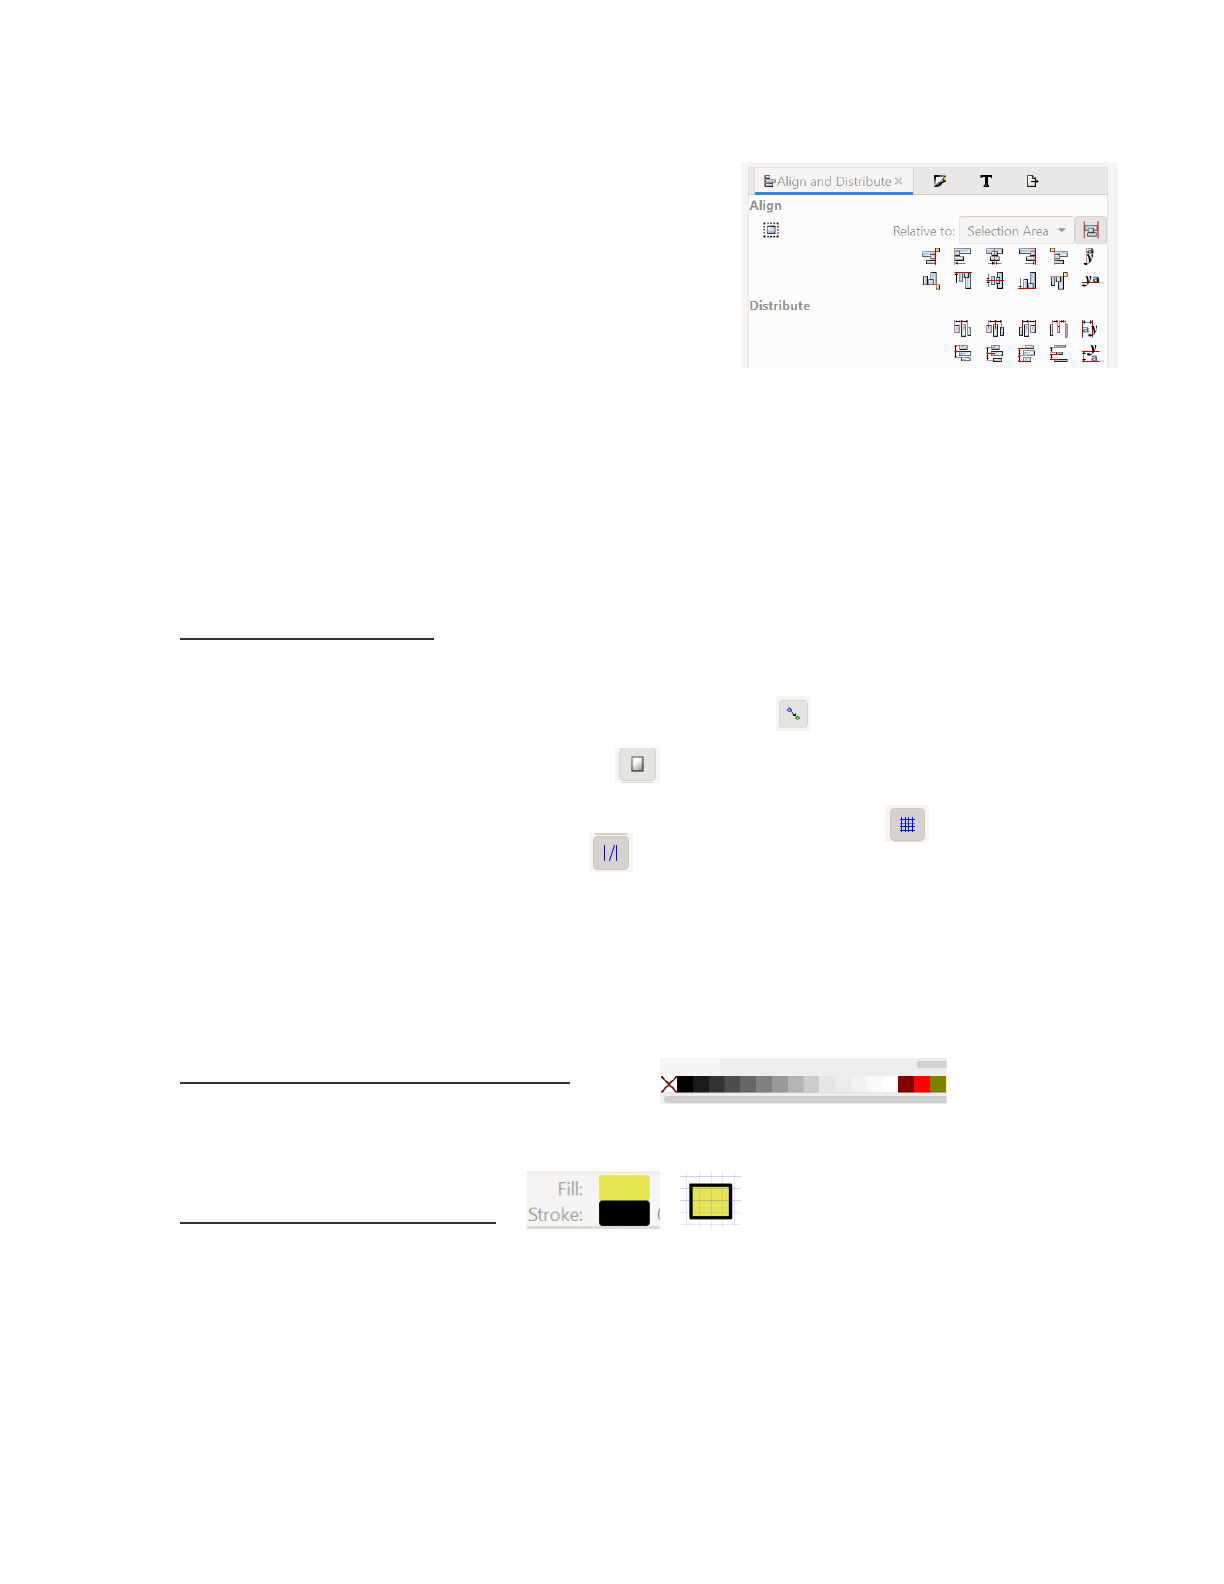
right, there is a dropdown menu called
Relative to: This will align and distribute the
objects relative to the selection made. For
example, if Biggest Object is selected, all the
objects you selected will order themselves
around the biggest object.
■ Select the object(s) you want to align
■ Select the Relative to: selection
■ Click on the pictogram showing how
you want the objects to display
■ Play around with the different pictograms to see how they move the objects
○ Rotating Objects:
■ Select the object(s) you want to rotate
■ To do generic rotations: Object (top dropdown menu) > Rotate/Flip
Horizontally/Vertically
■ To rotate by a specific degree: Object (top dropdown menu) > Transform >
Rotate (third tab in the transform menu) > specify the angle > click Apply
1.3.11. Snapping Objects: There is another awesome feature in inkscape that allows you to
“snap” an object to a defined location. This is very helpful when you want to align multiple
objects to a set location.
○ On the top right corner, click on the snapping button
○ Now if you move an object up to another object, grid, or guide, it will “snap” in place
○ To snap to the page border, select
○ To snap to the gridlines, select the icon to the right. You can view gridlines by going
to View (top dropdown menu) > check the Page Grid checkbox
○ To snap to the guidelines, select
○ Play around with the different snapping options
1.4. Changing Colours
Colours are very easy to change in Inkscape. Depending on the type of object, you can colour the
border and the fill differently. There is a colour menu where you can select a specific RBG or HEX
value, but you can also use the band of colours at the bottom of the page. If you don’t want the
object to have a colour, select the square with the red X on the far left.
1.4.1. Fill (the middle part of the object)
○ Select the object(s) you want to fill
○ Ctrl + select the colour you want from the band at the bottom of the page
○ Notice that the little box in the far bottom-left corner shows the fill colour for the
object
1.4.2. Stroke (the object border)
○ With the same object selected, use shift + the colour you want to change the
object border
○ Notice that the little box in the far bottom-left corner now shows the updated stroke
colour for the object
4
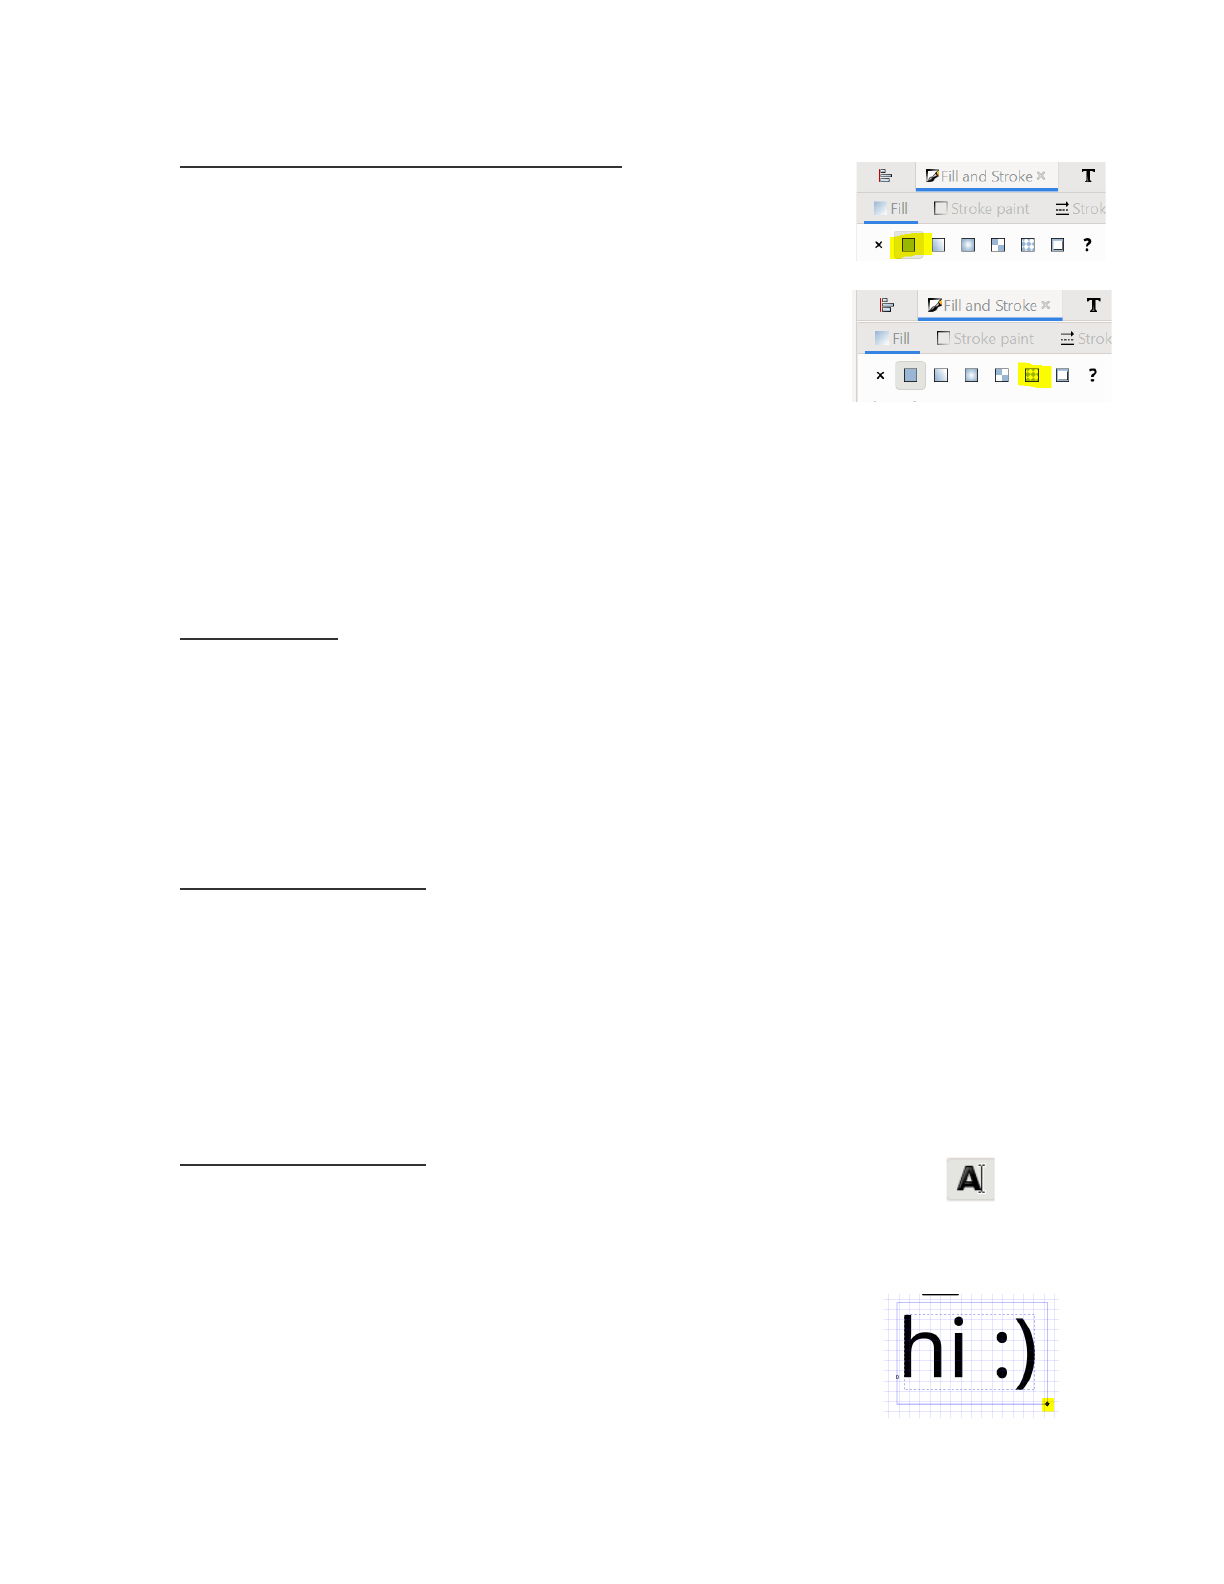
1.4.3. Patterns and Specific Colour selection
○ Select objects you would like to fill with a pattern or give a
specific colour
○ Specific colour: select Objects (top menu) > Fill and Stroke
> Fill > Flat colour (icon highlighted on the right) > choose
or type in desired colour code
○ Patterns: select Objects (top menu) > Fill and Stroke > Fill
> Patterns (icon highlighted on the right) > choose desired
pattern from drop down menu
○ Practice selecting different fill and stroke colours for your
objects using the colours at the bottom of the screen and the keyboard shortcuts.
Play around with the patterns and choose specific colours.
1.5. Selecting Objects: Advanced
Sometimes you have A LOT of tiny little points that need to be changed to another colour (or
re-sized based on the colour). Selecting every single one by hand will make you cry and never want
to use Inkscape again. Thankfully there is a really nice way to save your sanity.
1.5.1. Select by: Selects all objects of the same colour, style, or type
○ Edit (top dropdown menu) > Select same > Select desired objects
■ Fill and stroke: Selects all objects that have the same fill AND stroke colour
■ Fill colour: Selects all objects that have the same fill colour
■ Stroke colour: Selects all objects that have the same stroke colour
■ Stroke style: Selects all objects with the same stroke properties (e.g., line
width, line type)enter
■ Object type: Selects all objects that are the same (e.g.,. circle, rectangle, star,
spiral)
1.5.2. Replace by colour: Replaces all objects of the same colour with a new, specified colour
○ Extensions (top dropdown menu) > Colour > Replace colour
○ Select the colour you want to replace
○ Select the new colour
○ Click Apply
1.6. Adding Text Objects
Text counts as another type of object in Inkscape, so all the manipulations (resizing, grouping,
orientation, selecting, colour, etc.) you just learned above also apply to text. There are a few other
things to consider that can make dealing with text easier.
1.6.1. Drawing a textbox:
○ Select the text object (capital A with cursor symbol) from the left menu
○ Click and drag to make a textbox, release the mouse button to type in the box.
○ Notice how the box turns red and your text disappears if it doesn’t fit into the box you
just drew. The text box needs to be the same size as the text.
○ Click and drag the box to resize it. Notice how the textbox
doesn’t resize like you might expect. The text becomes
stretched. To resize the textbox, double click on the box. A
small diamond will appear in the bottom right. Use this to
resize the textbox (highlighted in right hand textbox image).
5
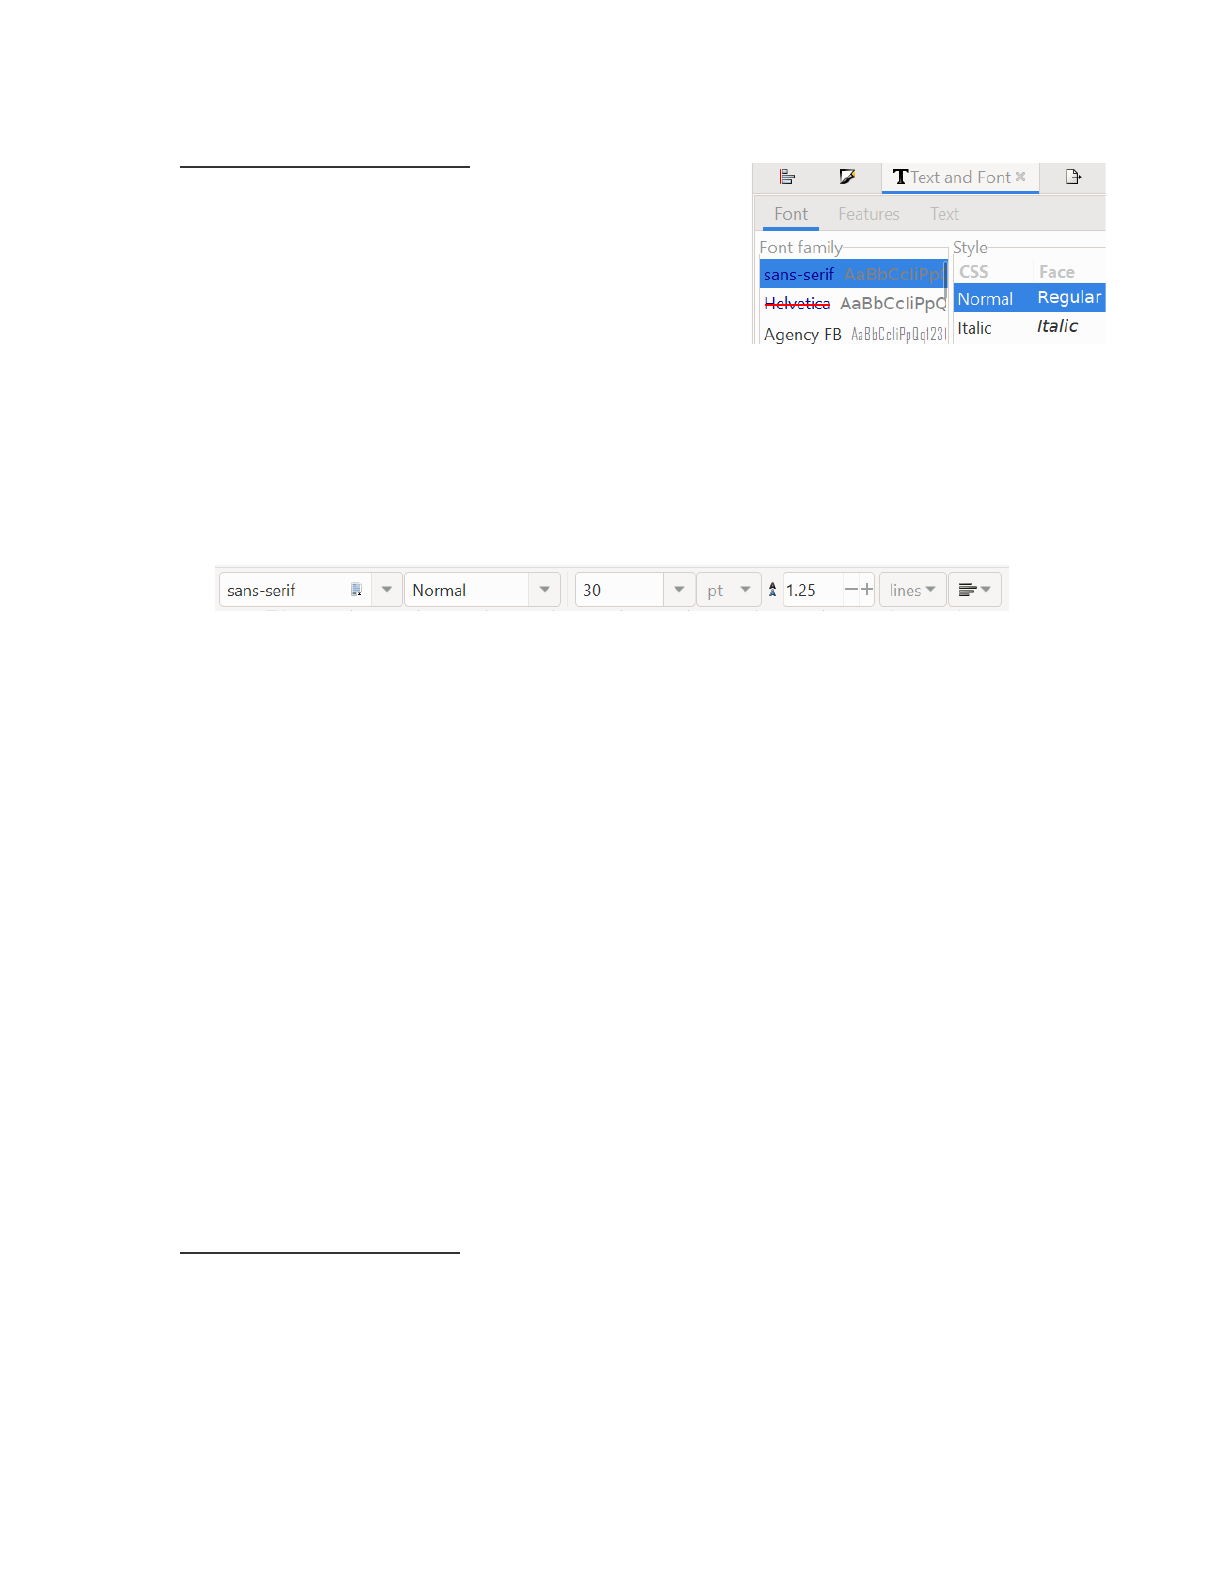
1.6.2. Changing existing text:
○ Select the textbox with the text you want to alter
○ Text (top drop down menu) > Text and Font
○ There are three tabs in this tool:
■ You can change the font, style and size
in the Font tab
■ Ignore the Features tab
■ You can type the new text you want in
the Text tab
● Use Ctrl + Enter to get the text to go onto the next line if you don’t
want one long string of text
■ After you have made your changes, click Apply
○ You can also do all of the above (plus superscript/subscript) using the text toolbar
that pops up when the textbox is selected and the cursor is present inside the box. It
will show up at the top of the page.
○ Orientation: See the Moving Objects section
○ Colour: See the Changing Colours section. When changing the text colour, the stroke
(border) is usually set to no colour unless you want the text to have an outline.
1.7. Saving your Work
Inkscape is quite stable, however, crashes can happen. The best way to protect yourself from losing
your work is to regularly save (Ctrl + S). When you first go to save (File > Save, File > Save as),
name your file and select one of these extensions. This will be your “working file”:
1) .svg (Inkscape SVG) to keep all the data in your file, even the data that is only useful for
editing with Inkscape and no other editor (recommended)
2) .svg (Plain SVG) for sharing your drawing with other people who might not use Inkscape, but
use SVG, for example, when they view a web page that uses a picture you created
3) .svgz (Compressed Inkscape/Plain SVG) compressed to save space on your harddisk
4) .pdf (Portable Document Format) vector- based files that can also hold raster images. To
save as a PDF, go to File > Save a Copy, and select Portable Document Format (*.pdf)
○ CAUTION: never save as PDF only for your working file. PDF file format supports a
different set of features from the SVG file format and you may lose data in the
process. ALWAYS keep an SVG file as well.
1.8. Exporting Graphs
Once you are happy with how your figure looks it is time to export it from Inkscape for use in your
690 project, thesis, publications, etc.
1.8.1. Exporting vector files: For most applications, exporting your file as a vector is preferred.
This will make sure that your figure does appear blurry or pixelated when resized.
○ To export a figure in a vector format, select the figure you want to export (make sure it is
grouped first)
○ Go to File > Save as > select your preferred file format (PDF, EMF, SVG, etc.) > name the
file > Save
6
○ Take a look at your exported figure. Is there a lot of white space? You can change the page
area in Inkscape so that only the figure is exported.
○ Go to File > Document Properties > under custom size, select Resize page to drawing or
selection. This will resize the page so it is the same as the figure. Now you can export the
figure using Save as. The white space should be gone.
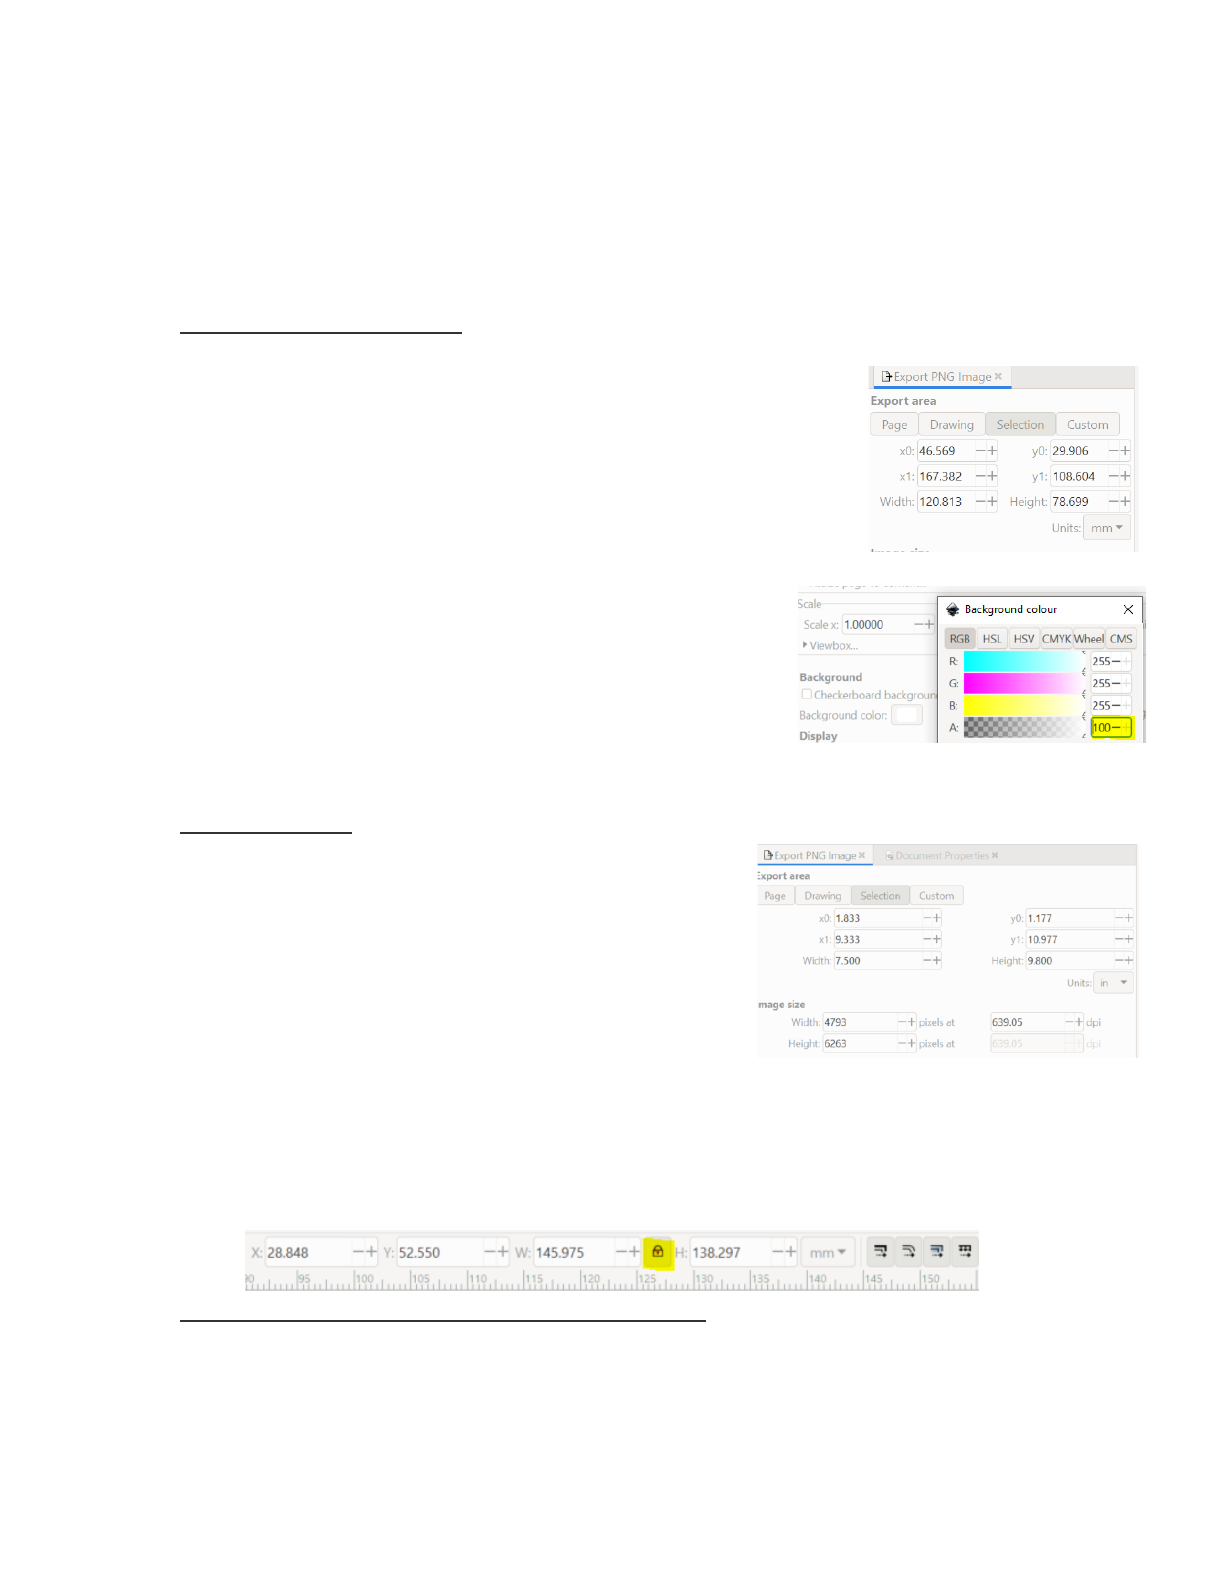
1.8.2. Exporting raster files: To export your figure in raster file format: Go to File > Export PNG
Image (this will open the export window)
○ Page: will export everything within the page border
(anything sitting outside the page border will be cut off)
○ Drawing: will export everything inside and outside the page
border (i.e., everything on the canvas)
○ Selection: notice how you cannot choose this option unless
you have something selected. Try selecting your graph or an
object and then this option. It will then give you the option to
export whatever you have selected.
○ Custom: will export according to the coordinates that
you enter into the fields at the top
○ Exported images default to having a transparent
background. To change this go to File > Document
Properties. For a white background, click on the
background color field and set the alpha channel of
the background color to 255.
1.8.3. Image size:
○ For raster files: indicate the desired size of your
image in pixels or resolution (dpi stands for dots
per square inch) in the export window. For
example, Nature accepts images at a minimum
of 300 dpi. The width and height fields are linked
in order to constrain the proportions of the
exported area. If you change the value of one
dimension, the other one changes automatically
to maintain the proportions.
○ For vector files: before going to Save As, resize the image using the top resizing
toolbar. Be sure to have the lock icon selected while resizing as having it unlocked
will disrupt the aspect ratio of your graph. You can change the units used for resizing
using the dropdown menu next to the height (H:) box. Try resizing your figure with
and without the lock icon selected to see how the figure changes.
1.8.4. Exporting figures to journal size requirements:
○ Each journal has specific size requirements for figures. For example, Journal of
Biological Methods requires figures to have widths between 3.0” and 7.5” and heights
not exceeding 9.8” when viewed at print size.
7

○ You can change the width and height of your graphic in the export window (which will
change the image size)
1.9. Inkscape Limitations
While Inkscape is amazing for many applications, there are still some limitations/drawbacks. Below
are some limitations we identified when using Inkscape for scientific purposes.
○ Practice caution when moving ungrouped objects around - you definitely do not want
to mess up the integrity of your figures.
○ If you change something in your graph in R, you will need to re-edit it in Inkscape.
This is pretty obvious, but if you need to make a lot of changes, this can become
frustrating and time-consuming. Try to finalize your figure in R, then edit the graph in
Inkscape once you are pretty sure you won’t make any further changes.
2.0. Practice Altering Graphs
Using the new tools you have learned above, practice making the provided graphs look
publication-worthy. We have provided you with some graphs so you can get familiar with what
Inkscape can and cannot do. The same graphs are provided in SVG, EMF (metafile), PDF, and PNG
formats so you can play around with the different file types.
2.0.1 Uploading Different File Types:
○ Download the provided ZIP file on eClass and practice uploading each bar plot file
type one at a time into Inkscape. Zoom in and out to explore resolutions and practice
grouping and ungrouping objects. Notice how resolution and grouping differs across
file types.
2.0.2. Basic Manipulation of Simple Graphs:
○ Stick with whichever file type of the bar plot you find easiest to work with (we
recommend metafile if you want to make many changes), and practice changing and
improving this very simplistic figure
○ Change colors, move/realign the legend, rotate labels, etc. Go wild.
2.0.3. Manipulation of Complex Graphs:
○ Import the “Iris” SVG file into Inkscape
○ This figure is more complicated and some labels are jumbled
○ See if you can use the “select all” and “replace by” color trick
2.0.4. Practice on your Own Graphs:
○ Now that you are an Inkscape pro, import graphics of your own, play around with
colors, sizing, exporting, etc. Have fun!
8

3.0. References and Additional Resources
● Inkscape > Help > Tutorials
● Inkscape > Help > FAQ
● The Inkscape Beginner’s Guide: https://inkscape-manuals.readthedocs.io/en/latest/
● Inkscape for students: https://www.ubuntubuzz.com/2020/08/inkscape-for-students.html
● How to use “select by”:
https://wiki.inkscape.org/wiki/index.php?title=Release_notes/0.91#Find.2FSelect
● Designing Effective Scientific Figures:
https://bioinformatics-core-shared-training.github.io/effective-figure-design/DesigningEffectiv
eScientificFigures_Practical_INKSCAPE_Zabala_v00.pdf
● PNG vs. SVG:
https://www.adobe.com/ca/creativecloud/file-types/image/comparison/png-vs-svg.html#:~:tex
t=While%20PNGs%20are%20capable%20of,size%20without%20losing%20their%20resoluti
on.
● Exporting graphics from Inkscape:
https://www.lifewire.com/export-graphics-from-inkscape-1701894
● Nature final submission requirements:
https://www.nature.com/nature/for-authors/final-submission
9
